How To Draw A Dagger
How To Draw A Dagger - Detail the grip of the dagger. First, draw a straight line that run’s through what will be the blade’s middle and then add a curve of each it’s sides. Notice that the sides of each square curve inward. Finish with the shapes of the grip and pommel. Draw the shape of the grip. Even beginner artists can now draw a great looking dagger. Overall you want this part of the dagger to get wider as it gets closer to the guard (added in the next step). This line will act as the backbone of the dagger. Web how to draw a dagger. Mark off the width and height and define the main proportions of the dagger.
Start by drawing a long vertical line in the center of your paper. Begin by drawing two square shapes. Web let's learn how to draw a dagger! Begin the dagger drawing with the blade. Draw two more squares with concave sides, stacked on top of the existing squares. Even beginner artists can now draw a great looking dagger. First, draw a straight line that run’s through what will be the blade’s middle and then add a curve of each it’s sides.
Even beginner artists can now draw a great looking dagger. Begin the dagger drawing with the blade. Mark off the width and height and define the main proportions of the dagger. It just seems like overkill when you already. Draw the shape of the grip.
How to Draw a Dagger Really Easy Drawing Tutorial

How to Draw a Dagger Really Easy Drawing Tutorial
Dagger drawing Tattoo Ideas Pinterest Tattoo, Delicate tattoo and

How to Draw a Dagger Really Easy Drawing Tutorial

How to Draw a Dagger

How to Draw a Dagger Really Easy Drawing Tutorial

Day 44 Drawing a Dagger Tutorial I 365 Art

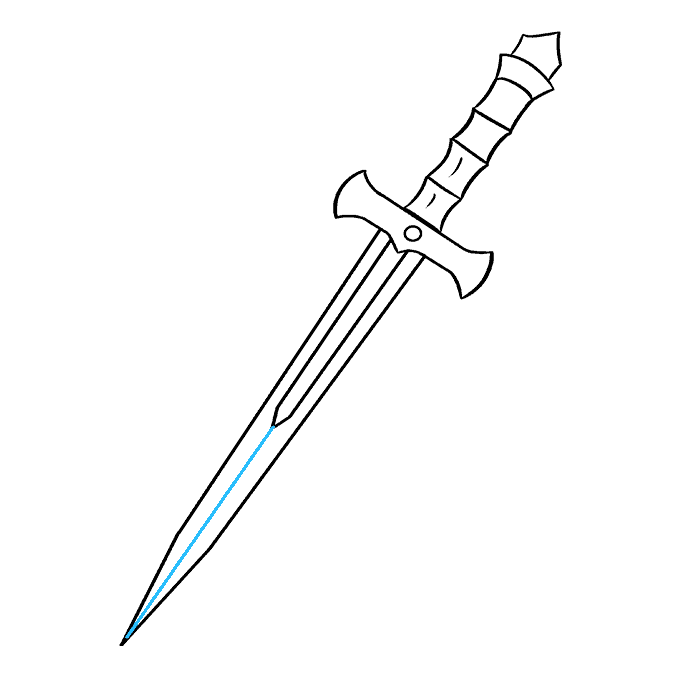
Web how to draw a dagger. Begin the dagger drawing with the blade. Web let's learn how to draw a dagger! Finish with the shapes of the grip and pommel. Draw two diagonal lines extending from the top and bottom of the straight line to form the sharp tip of the blade. Add two more parallel lines on each side of the center line to create the width of the blade.
Finish with the shapes of the grip and pommel. Start by drawing a straight line for the center of the dagger’s blade. Detail the grip of the dagger. First, draw a straight line that run’s through what will be the blade’s middle and then add a curve of each it’s sides. Add two more parallel lines on each side of the center line to create the width of the blade.
Web whether you're an aspiring artist or simply looking to expand your artistic abilities, this article will guide you on how to draw a dagger. Next, draw a short horizontal line near the top of the vertical line. Overall you want this part of the dagger to get wider as it gets closer to the guard (added in the next step). This begins the handle or grip of the dagger.
This Line Will Act As The Backbone Of The Dagger.
Web whether you're an aspiring artist or simply looking to expand your artistic abilities, this article will guide you on how to draw a dagger. 10k views 3 years ago how to draw everyday objects! Mark off the width and height and define the main proportions of the dagger. First, draw a straight line that run’s through what will be the blade’s middle and then add a curve of each it’s sides.
Add Two More Parallel Lines On Each Side Of The Center Line To Create The Width Of The Blade.
Start by drawing a long vertical line in the center of your paper. Notice that the sides of each square curve inward. Position the shapes on a diagonal slant, one on top of the other. Detail the grip of the dagger.
Next, Draw A Short Horizontal Line Near The Top Of The Vertical Line.
Finish with the shapes of the grip and pommel. Begin by drawing two square shapes. Even beginner artists can now draw a great looking dagger. Start by drawing a straight line for the center of the dagger’s blade.
Draw The Shape Of The Grip.
Draw two more squares with concave sides, stacked on top of the existing squares. This begins the handle or grip of the dagger. It just seems like overkill when you already. Draw two diagonal lines extending from the top and bottom of the straight line to form the sharp tip of the blade.