Bow Drawing Step By Step
Bow Drawing Step By Step - This will be the main body of the bow. Show, with light lines, the general proportions of it. Then, create the loops by drawing a rectangular shape with rounded corners on either side. Your loops should narrow towards the center. You can start at any corner and work your way into drawing a square. Draw two series of connected curved lines, and. Web draw so cute. Bow is a popular item when you wear a suit. How to draw a bow. Begin by drawing the tip of the bow.
If you add shadows in the right places, it can start to look pretty realistic. This lesson is created for beginners and children, so it does not use difficult to draw elements. This will be the main body of the bow. To begin drawing a bow, it is essential. With a little bit of imagination and some helpful tips, you’ll be able to make an amazing picture of a bow that looks so pretty and fancy! Web draw so cute. Stand in the correct position.
Stand in the correct position. Start by drawing a rectangle shape in the center of your paper. It provides both line drawing and coloring examples along with quick explanations. First, sketch an oval shape for the center of your bow sketch. This was my first time trying a paint by number project after a few times painting at a local.
How To Draw A Christmas Bow Step by Step [6 Easy Phase & Video]
![How To Draw A Christmas Bow Step by Step [6 Easy Phase & Video]](https://i2.wp.com/easydrawings.net/wp-content/uploads/2020/04/Overview-included-for-Bow-drawing.jpg)
How to Draw a Bow and Arrow for Kids

How to Draw a Bow · Art Projects for Kids

Bow Drawing How To Draw A Bow Step By Step!

Bow Drawing How To Draw A Bow Step By Step!
Bow svg dxf pdf eps png jpg Silhouette Studio Design Files for Cameo

Learn How to Draw a Bow (Everyday Objects) Step by Step Drawing

Draw a knot and show, with smooth lines, the direction of the ribbon ends. The shape of the frame can be slightly tricky to draw, as it involves a lot of curved lines quite close together. Then move into some bows that are a little more difficult and have extra details. From one side of the center of the bow, begin by drawing a curved shape out by drawing a sort of heart shape like this one. Draw two series of connected curved lines, and. This is definitely a step that you should feel free to take slowly and carefully!
This will be the center of the bow you’re about to draw. To imitate the folds on the tape, we make lines on the triangles, reaching like rays from a knot. Bow and arrow drawing step by step. This is definitely a step that you should feel free to take slowly and carefully! And learning how to draw a bow is easy.
Then, create the loops by drawing a rectangular shape with rounded corners on either side. From each corner of the square, draw a slightly inward curving line in the direction it’s extending. This is definitely a step that you should feel free to take slowly and carefully! Begin by drawing the tip of the bow.
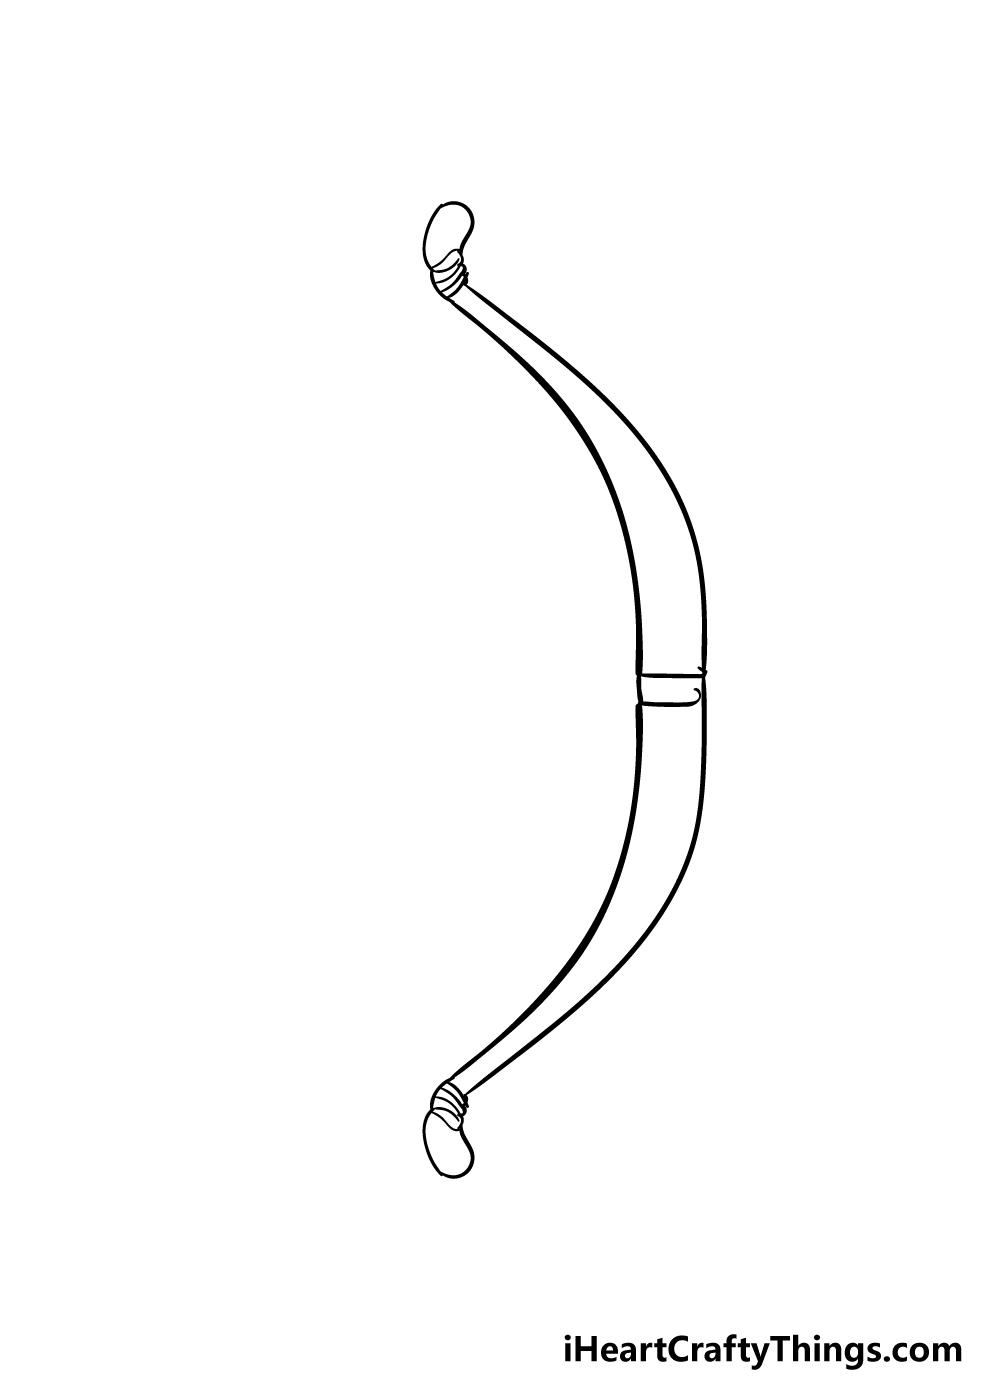
This Is The Joint That Holds Together Both Sides Of The Bow.
Draw two series of connected curved lines, and. Then, create the loops by drawing a rectangular shape with rounded corners on either side. This guide will help you to learn this drawing in a very easy way. Start by drawing a rectangle shape in the center of your paper.
For This First Step In Our Guide On How To Draw A Bow, We Shall Start With The Frame Of The Bow.
Learn how to draw this cute bow step by step. With a little bit of imagination and some helpful tips, you’ll be able to make an amazing picture of a bow that looks so pretty and fancy! Web for simplicity, first, draw a circle, and two triangles intersecting in a circle — extra strokes and then wipe it out with ease. If you add shadows in the right places, it can start to look pretty realistic.
Draw Her On A Gift Or Anything That.
Place your fingers on the bowstring. To begin drawing a bow, it is essential. Drawing a bow is super fun! How to draw a bow step by step pencil drawing for.
Let’s Begin This Bow Tie Drawing With The Center Piece Which Is Referred To As The Knot.
Raise the bow & draw the string. In this video, we show you how you can start your first realistic bow drawing on. You can start at any corner and work your way into drawing a square. Today, i will teach you to bow and arrow drawing.